The animated gif of the steps below.
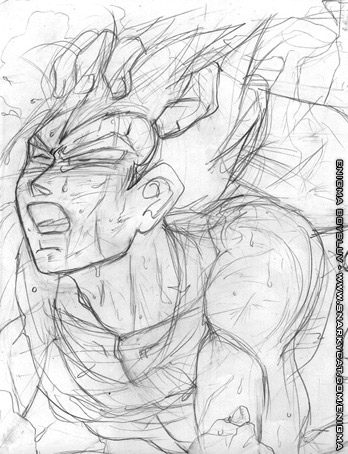
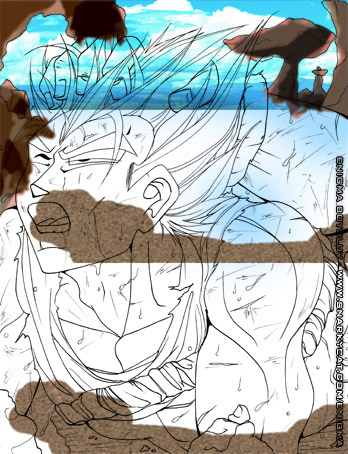
I still prefer to rough things out with pencils first.
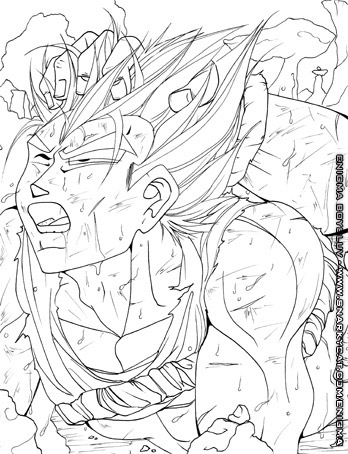
I refine it a bit more then ink and scan it at 400dpi.
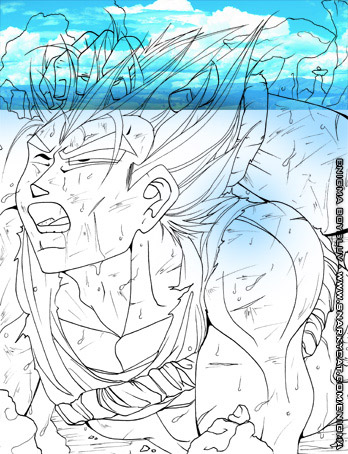
Since this pic has a background I start with it first.
I was lazy this time so I just found a pic of some clouds and
put a slight blur filter on it.
I can be super impatient when coloring so i do whatever I can
to get the desired effect with the least amount of time, so I use lots of filters when I can.
I added a splash of brown for the ground and put a "add noise" filter on it.
For the rocks I filter > pixelate > crystalize then made the crystals really huge
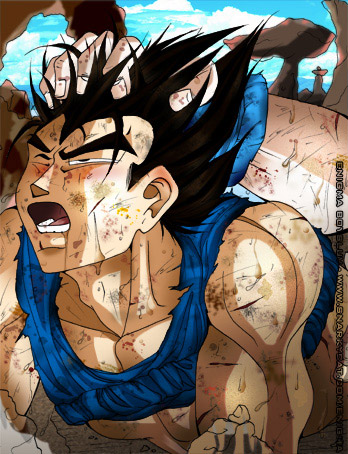
I know there are people who do this in the opposite order, but I like to add the
flat base color first then add shading and texture and little details as I go.

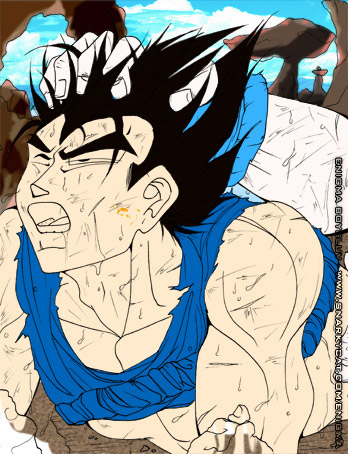
Added the first layer of shading here. Since the skin details are going to
get complicated, I only made one simple cell shading style skin shadow layer.
I tend to just slowly use a tablet pen to smooth these lines out, but if I'm pressed for
time or patience I use the lasso and polygon lasso tools.
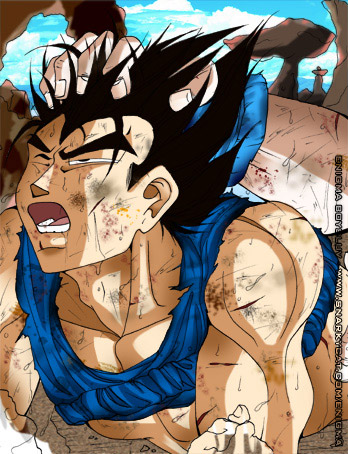
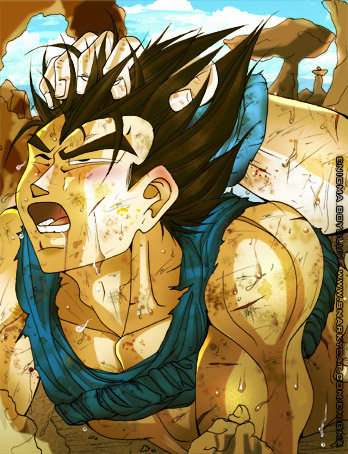
Now I get to the tiny details that make his skin gritty. Adding bruises and
scratches and dirt with different brushes that come with any version of Photoshop.
I vary the size of the brush, opacity of the color, and sometimes the layer style
to multiply or overlay to make it stand out more.
I try to achieve some semblance of realism by adding more and more shadows.
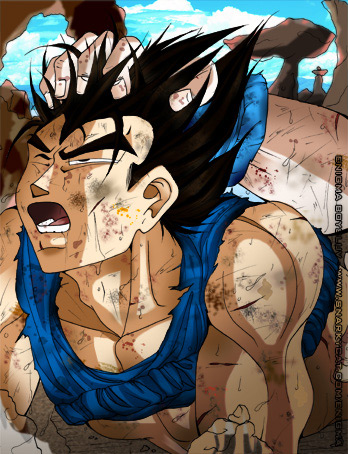
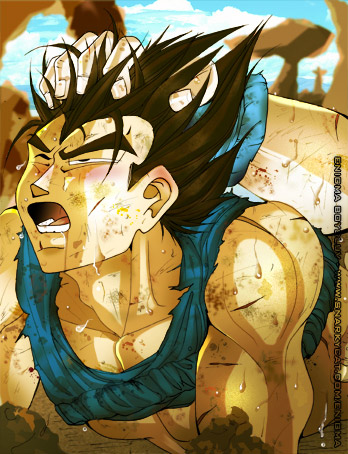
More brush grit on the skin and the clothes as well now. Then I added a small
gradient shadow darkening towards the bottom of the picture.
Since this is smut, I added the obligatory blush and sweat sheen. For the sheen
I put blotches of white, used a "add noise" filter, then changed the layer style to
screen to give his skin even more texture.

Here i added more noticable beads of sweat using two layers. One of brown
in the shape of the bead, opacity 25%, then another layer of just white dots for the
drop shine, nothing particularly difficult.
Now that most everything is colored I worry about lighting and atmosphere. I wanted this
picture in the middle of the day so I brighten it up by adding a layer of yellow
with the style set to screen and overlay.
I like to lighten up some of the lines, makes the pic a little less harsh. I go back to the
base layer with the ink lines, changing the opacity style to screen, I got over the lines I want to
lighten with a medium brown, or whatever color under the line was.
I completely erased the lines for the rocks and put a blur on them.
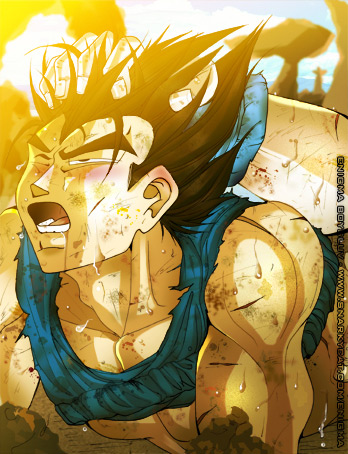
To make it the sun super bright I added 2 more layers of yellow just in the corner. Done!